Why Toothpaste Works Wonders
First, let’s understand why toothpaste is effective in cleaning cloudy headlights. Most types of toothpaste contain mild abrasives. These abrasives are designed to remove plaque and stains from your teeth. When applied to headlights, these same abrasives gently polish the surface, removing the oxidation and grime that cause cloudiness. It’s a simple case of chemistry and physics working in your favor!
Choosing the Right Toothpaste
Not all toothpastes are created equal for this task. For the best results, choose a toothpaste that advertises whitening properties. These types usually have higher levels of abrasives, making them more effective at tackling the tough, cloudy layers on your headlights.
Step-by-Step: Toothpaste Headlight Cleaning
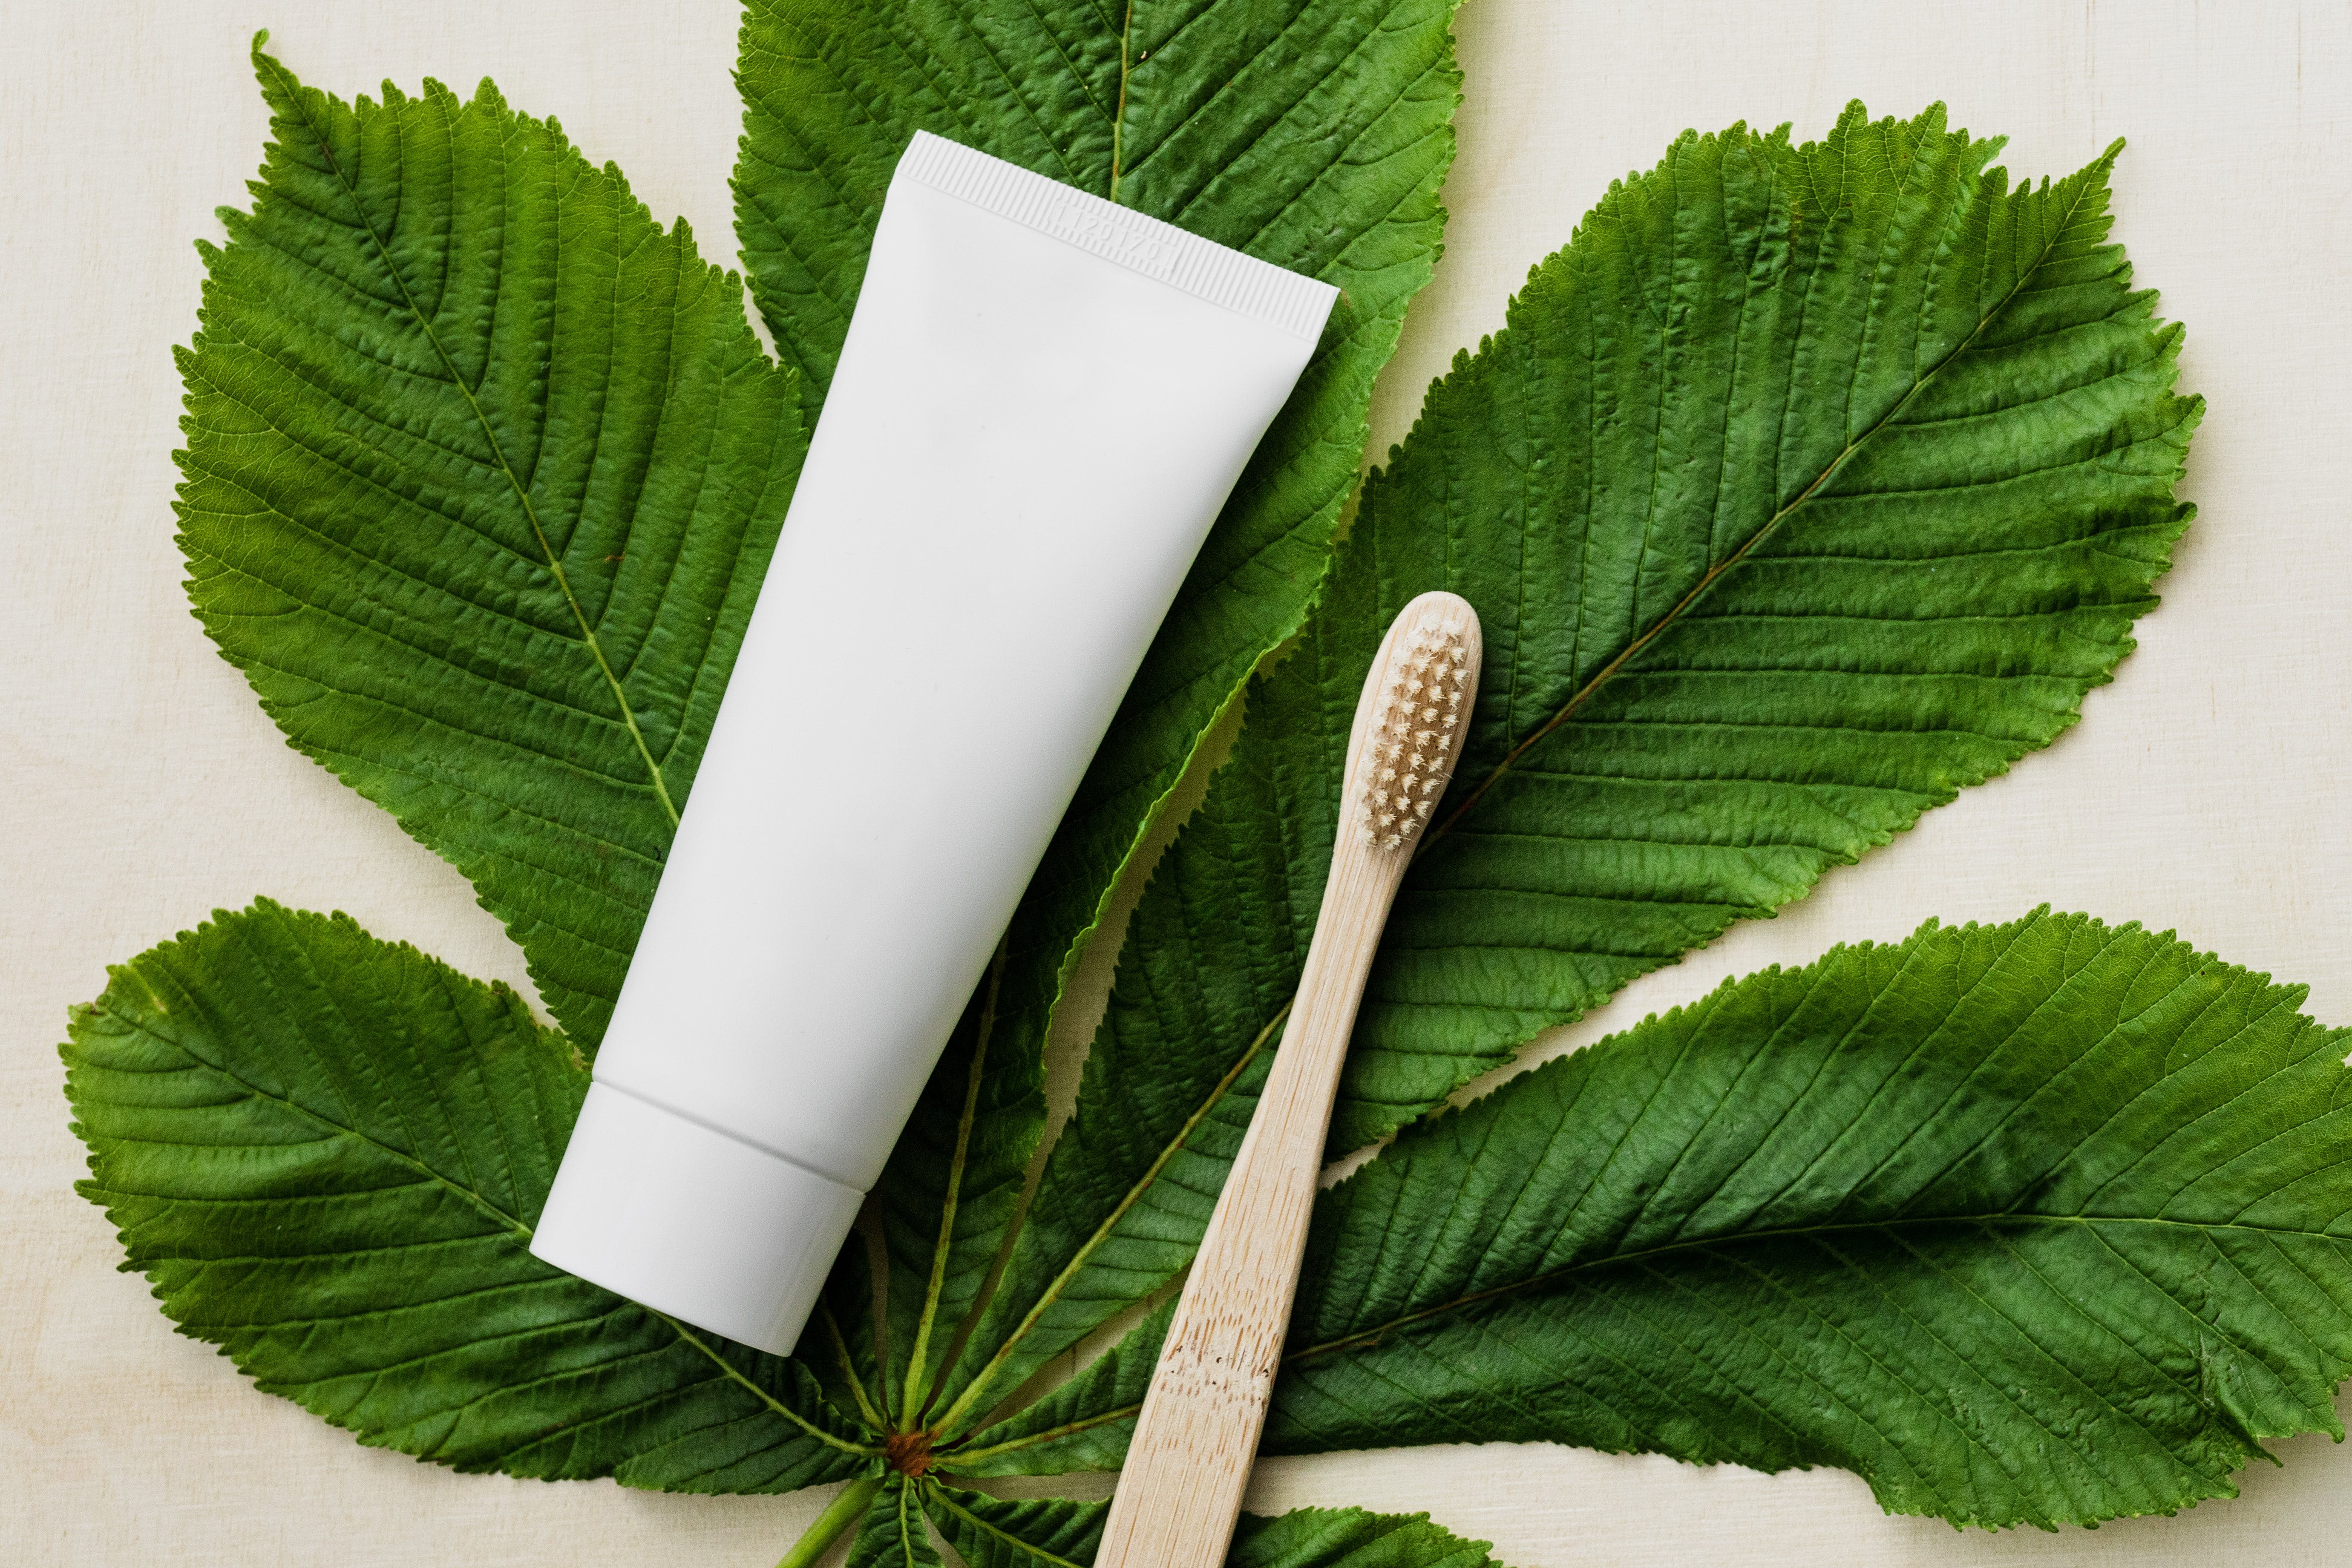
- Gather Your Materials: You’ll need whitening toothpaste, a clean, damp cloth, a bowl of water, and some elbow grease.
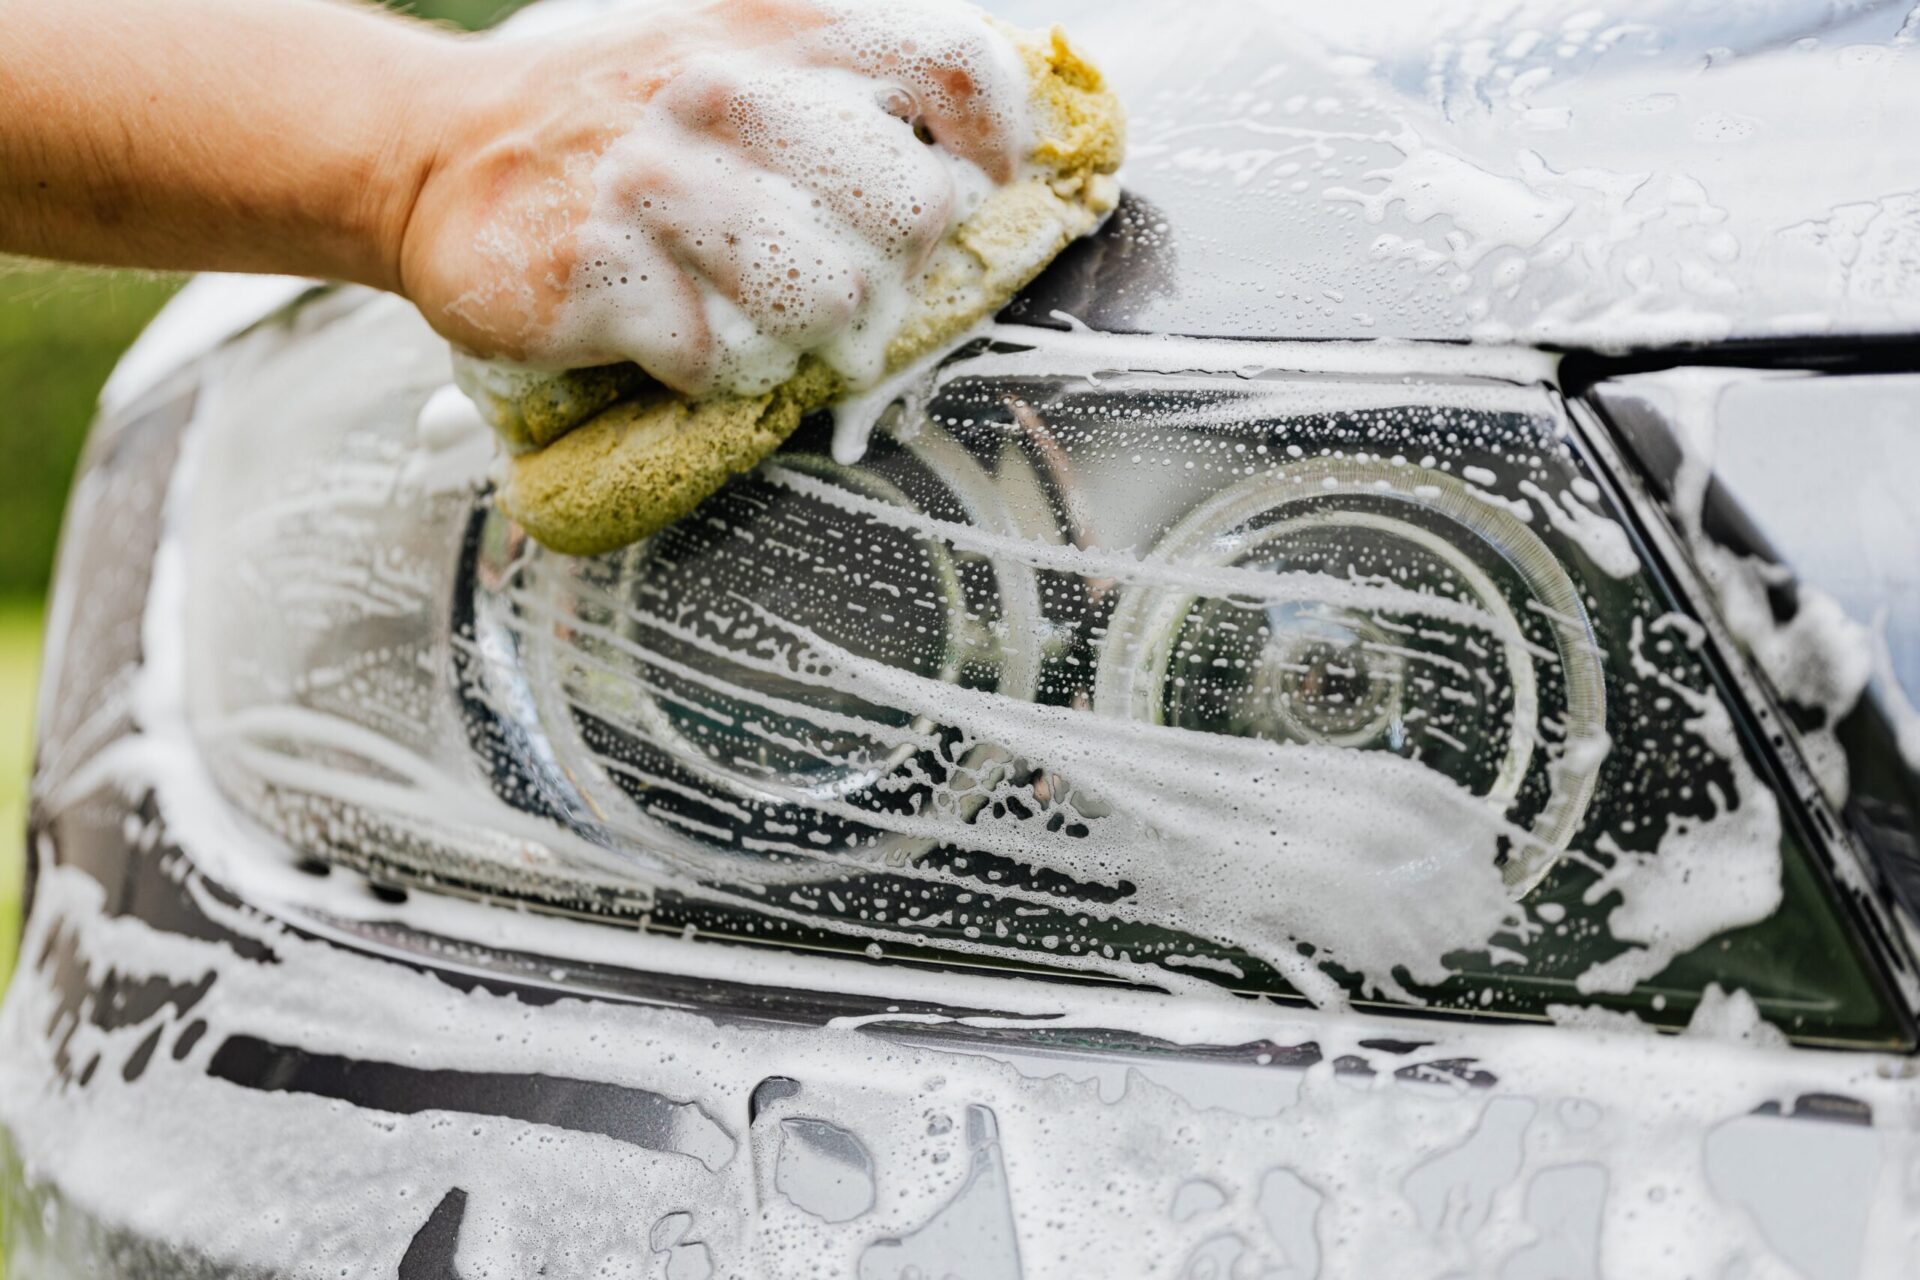
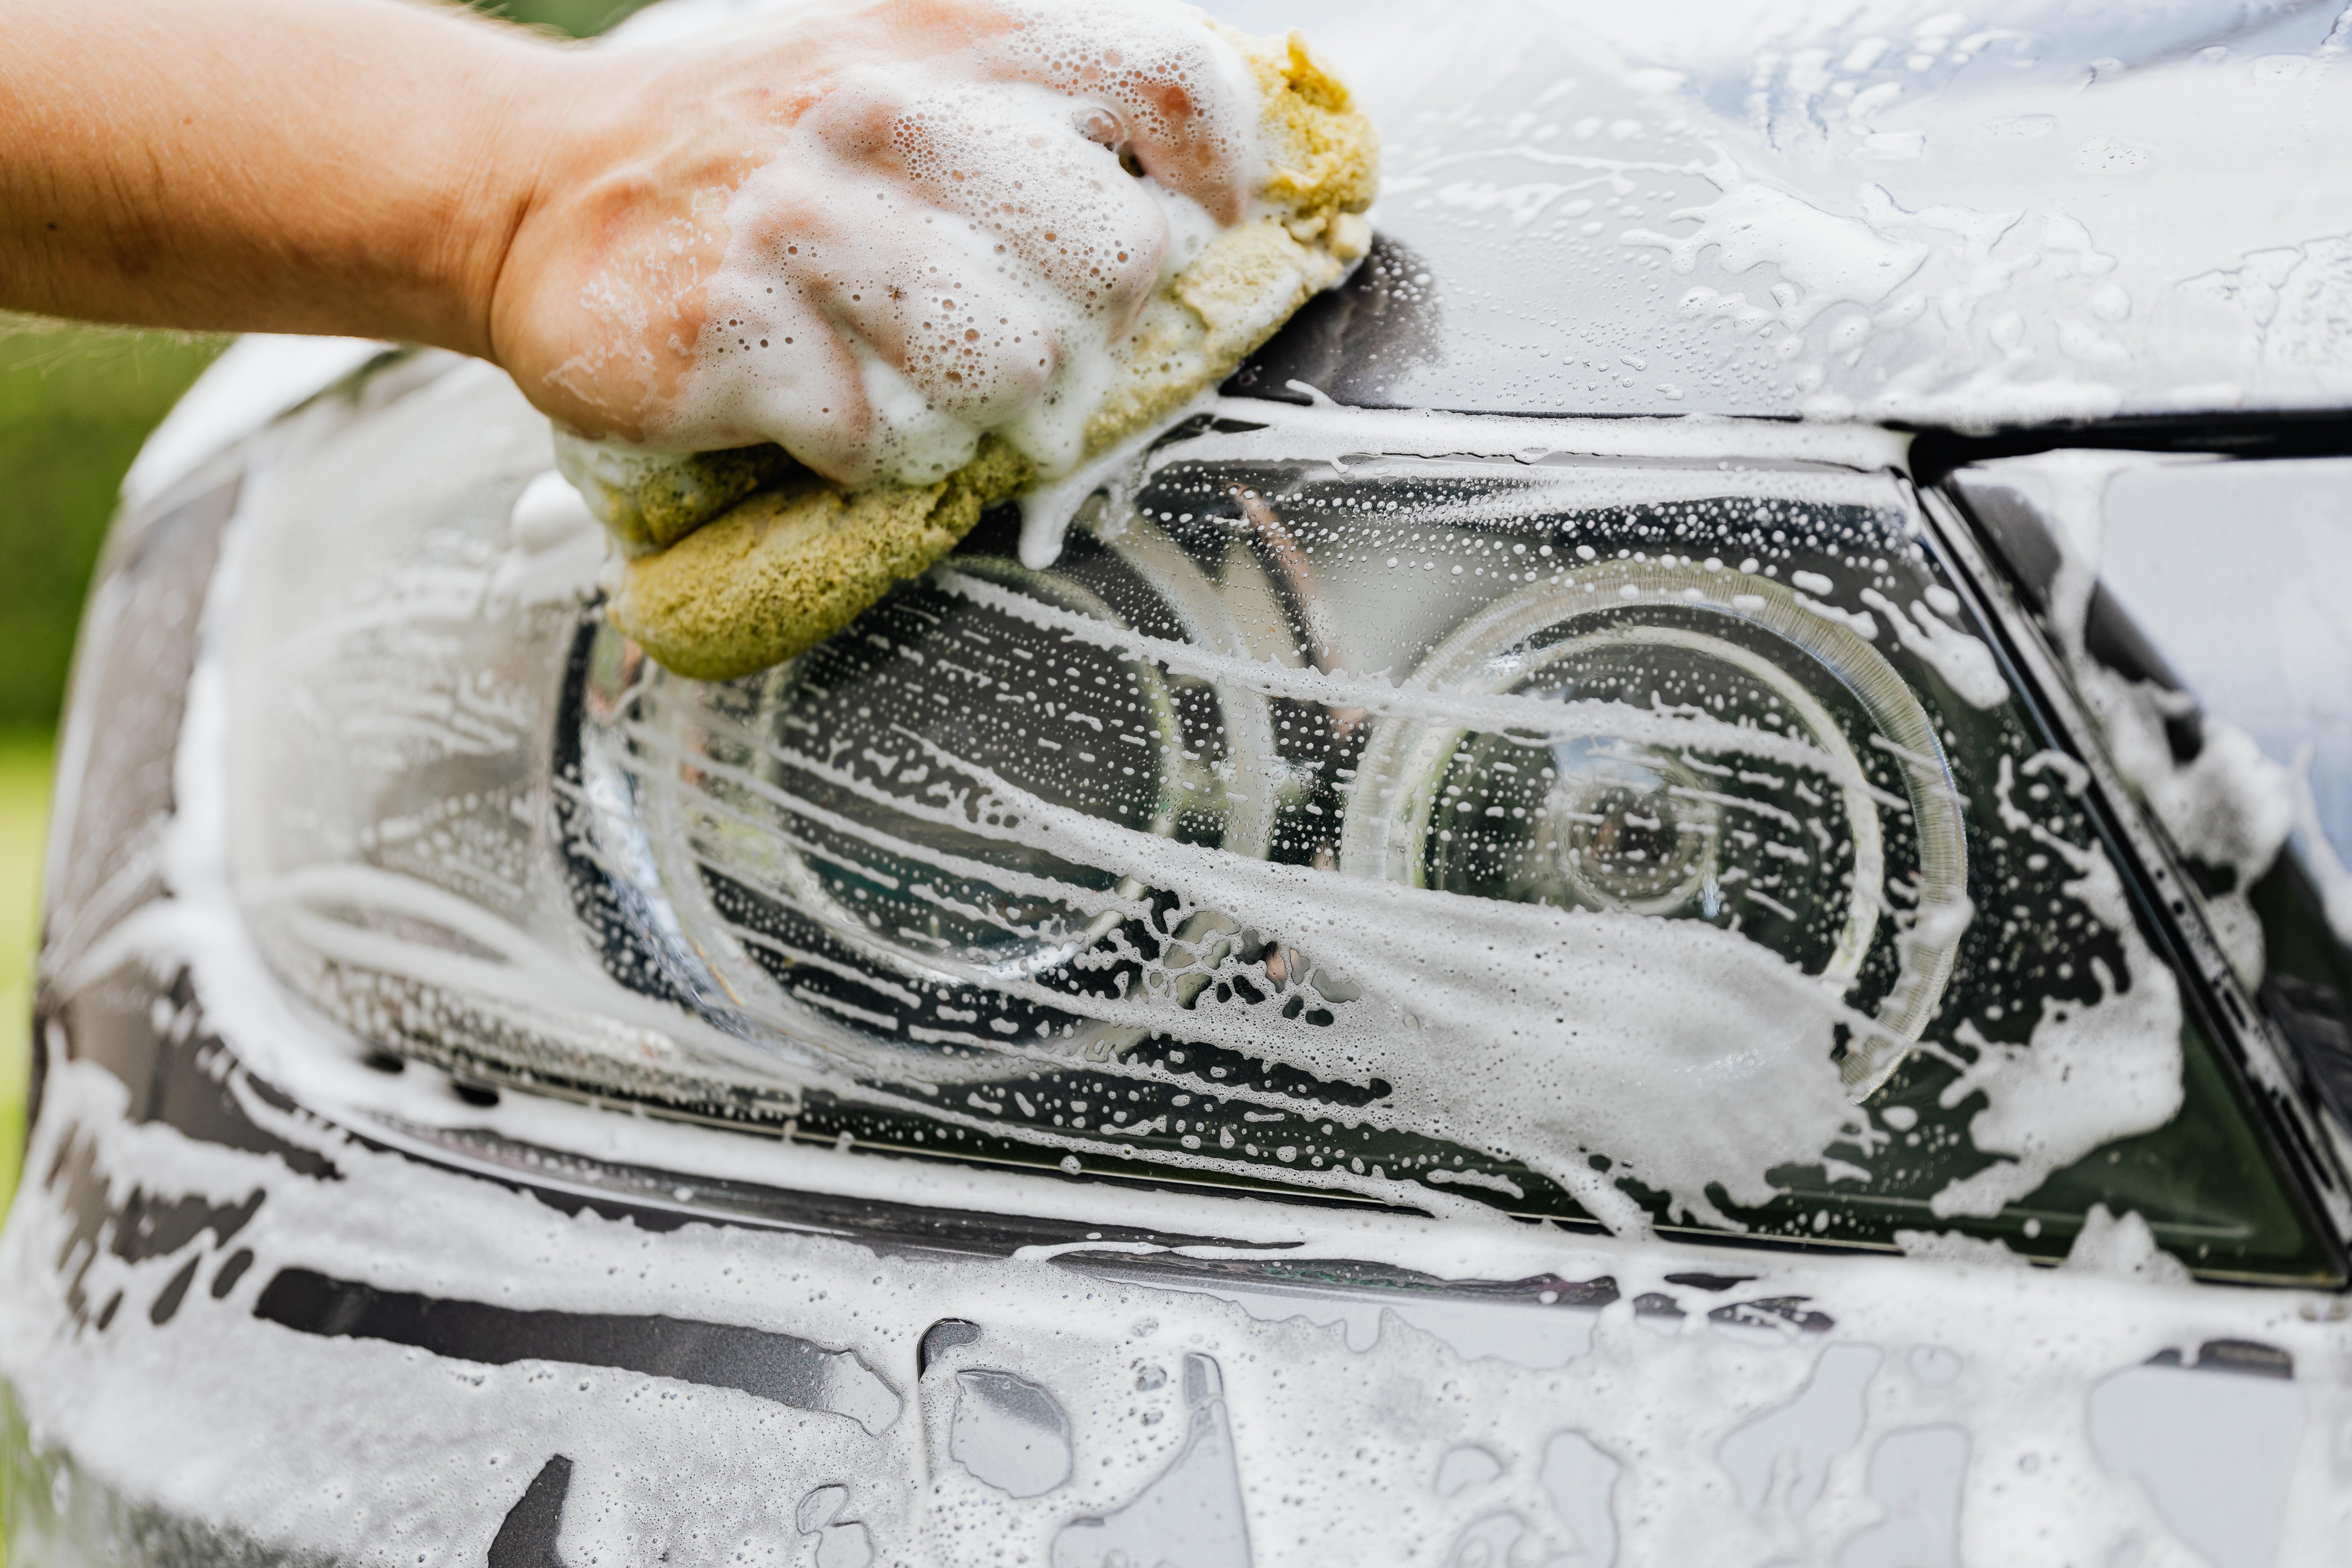
- Prep Your Headlights: Clean the headlight with soap and water first. This removes any loose dirt, ensuring the toothpaste works directly on the cloudiness.
- Apply the Toothpaste: Squeeze a dollop of toothpaste onto the cloth. Then, in a circular motion, rub it onto the headlight. You’ll want to cover the entire area evenly.
- Elbow Grease Time: This is where the magic happens. Using circular motions, rub the toothpaste into the headlight. Apply a moderate amount of pressure – think of it as massaging the headlight.
- Rinse and Repeat: After a few minutes of scrubbing, rinse the headlight with water. If it’s still cloudy, repeat the process. Often, a second round makes a huge difference.
- Final Touches: Once you’re satisfied with the clarity, rinse off all toothpaste residue. Dry the headlight thoroughly with a clean cloth.
Safety and Maintenance Tips
While toothpaste is a safe and effective method to clean cloudy headlights, it’s important to use it correctly. Avoid getting toothpaste on the car’s paint, as the abrasives can damage it. Regular maintenance, like repeating this process every few months and parking in the shade, can prolong the clarity of your headlights.
The Dynamic Duo of Vinegar and Baking Soda
Vinegar, an acetic acid solution, excels at breaking down grime and dirt. Baking soda, or sodium bicarbonate, is a mild alkali that dissolves dirt in water. When combined, they create a fizzing reaction, enhancing their cleaning properties. This reaction lifts off the oxidation layer from your headlights, revealing the clarity underneath.
Preparing Your Potion
- Gather Your Supplies: You’ll need white vinegar, baking soda, a spray bottle, a small bowl, water, and a clean cloth.
- Create the Mixture: Mix about three parts baking soda to one part water in the bowl. You’re aiming for a paste-like consistency.
- Apply the Baking Soda Paste: Using your fingers or a cloth, apply the paste to the headlights. Cover them completely and let the paste sit for about five minutes.
- The Vinegar Spray: While the paste is doing its job, fill your spray bottle with white vinegar.
- The Grand Fizz: Spray the vinegar onto the baking soda-coated headlights. You’ll see fizzing – that’s the reaction doing its work!
Scrub and Rinse
After the fizzing subsides, gently scrub the headlights with the cloth. The combination of physical scrubbing and the chemical reaction should have loosened the oxidation. Rinse the headlights thoroughly with water, ensuring all residue is gone.
Safety First
When using vinegar and baking soda, be mindful of your car’s paint and finishes. Vinegar, especially, can be harsh on paint. Protect surrounding areas with tape or a cloth.
Lasting Shine and Protection
After cleaning, consider applying a UV-protectant sealant. This can help keep your headlights clear for longer. Regular maintenance, like repeating this process every few months, can prevent future cloudiness.
In Conclusion
Vinegar and baking soda, while humble kitchen items, are powerful tools for cleaning cloudy headlights This eco-friendly, cost-effective method not only brings back the shine to your headlights but also enhances your driving safety. So, next time you’re in the kitchen, remember that these ingredients aren’t just for cooking – they’re also for cleaning and restoring!
Understanding the Causes of Headlight Cloudiness
Now, let’s switch gears and delve into the causes of headlight cloudiness. Knowing the enemy is half the battle won, right?
The Sun: A Bright Foe
- UV Rays and Your Headlights: The primary culprit behind headlight cloudiness is the sun. Ultraviolet (UV) rays from the sun can be brutal on your car’s headlights. Over time, these rays degrade the headlight’s protective coating, leading to oxidation.
- Oxidation: The Science: Oxidation is a chemical reaction. It occurs when the polycarbonate material of headlights is exposed to oxygen and UV light. This results in a yellowish, cloudy appearance.
Environmental Factors
- Dirt and Chemicals: Headlights are constantly exposed to the elements. Dirt, road salt, and chemicals can accumulate, contributing to cloudiness and wear.
- Water Vapor: Believe it or not, water can get inside your headlight assembly. This moisture can cause fogging and a cloudy appearance from the inside out.
Age and Wear
- The Age Factor: Like everything else, headlights age. The older your car, the more likely its headlights have suffered from years of exposure to various elements.
- Wear and Tear: Regular driving subjects headlights to a variety of physical impacts. Small scratches and dings can accumulate, leading to a cloudy appearance.
Prevention: Better than Cure
- Regular Cleaning: Keep your headlights clean. Regularly washing them can prevent dirt build-up that exacerbates cloudiness.
- Protective Measures: Use UV-protectant sprays or sealants on your headlights. These can extend the life of the headlights by offering additional protection against UV rays.
- Parking Wisdom: If possible, park your car in shaded areas or use a car cover. Minimizing exposure to direct sunlight can slow down the oxidation process.
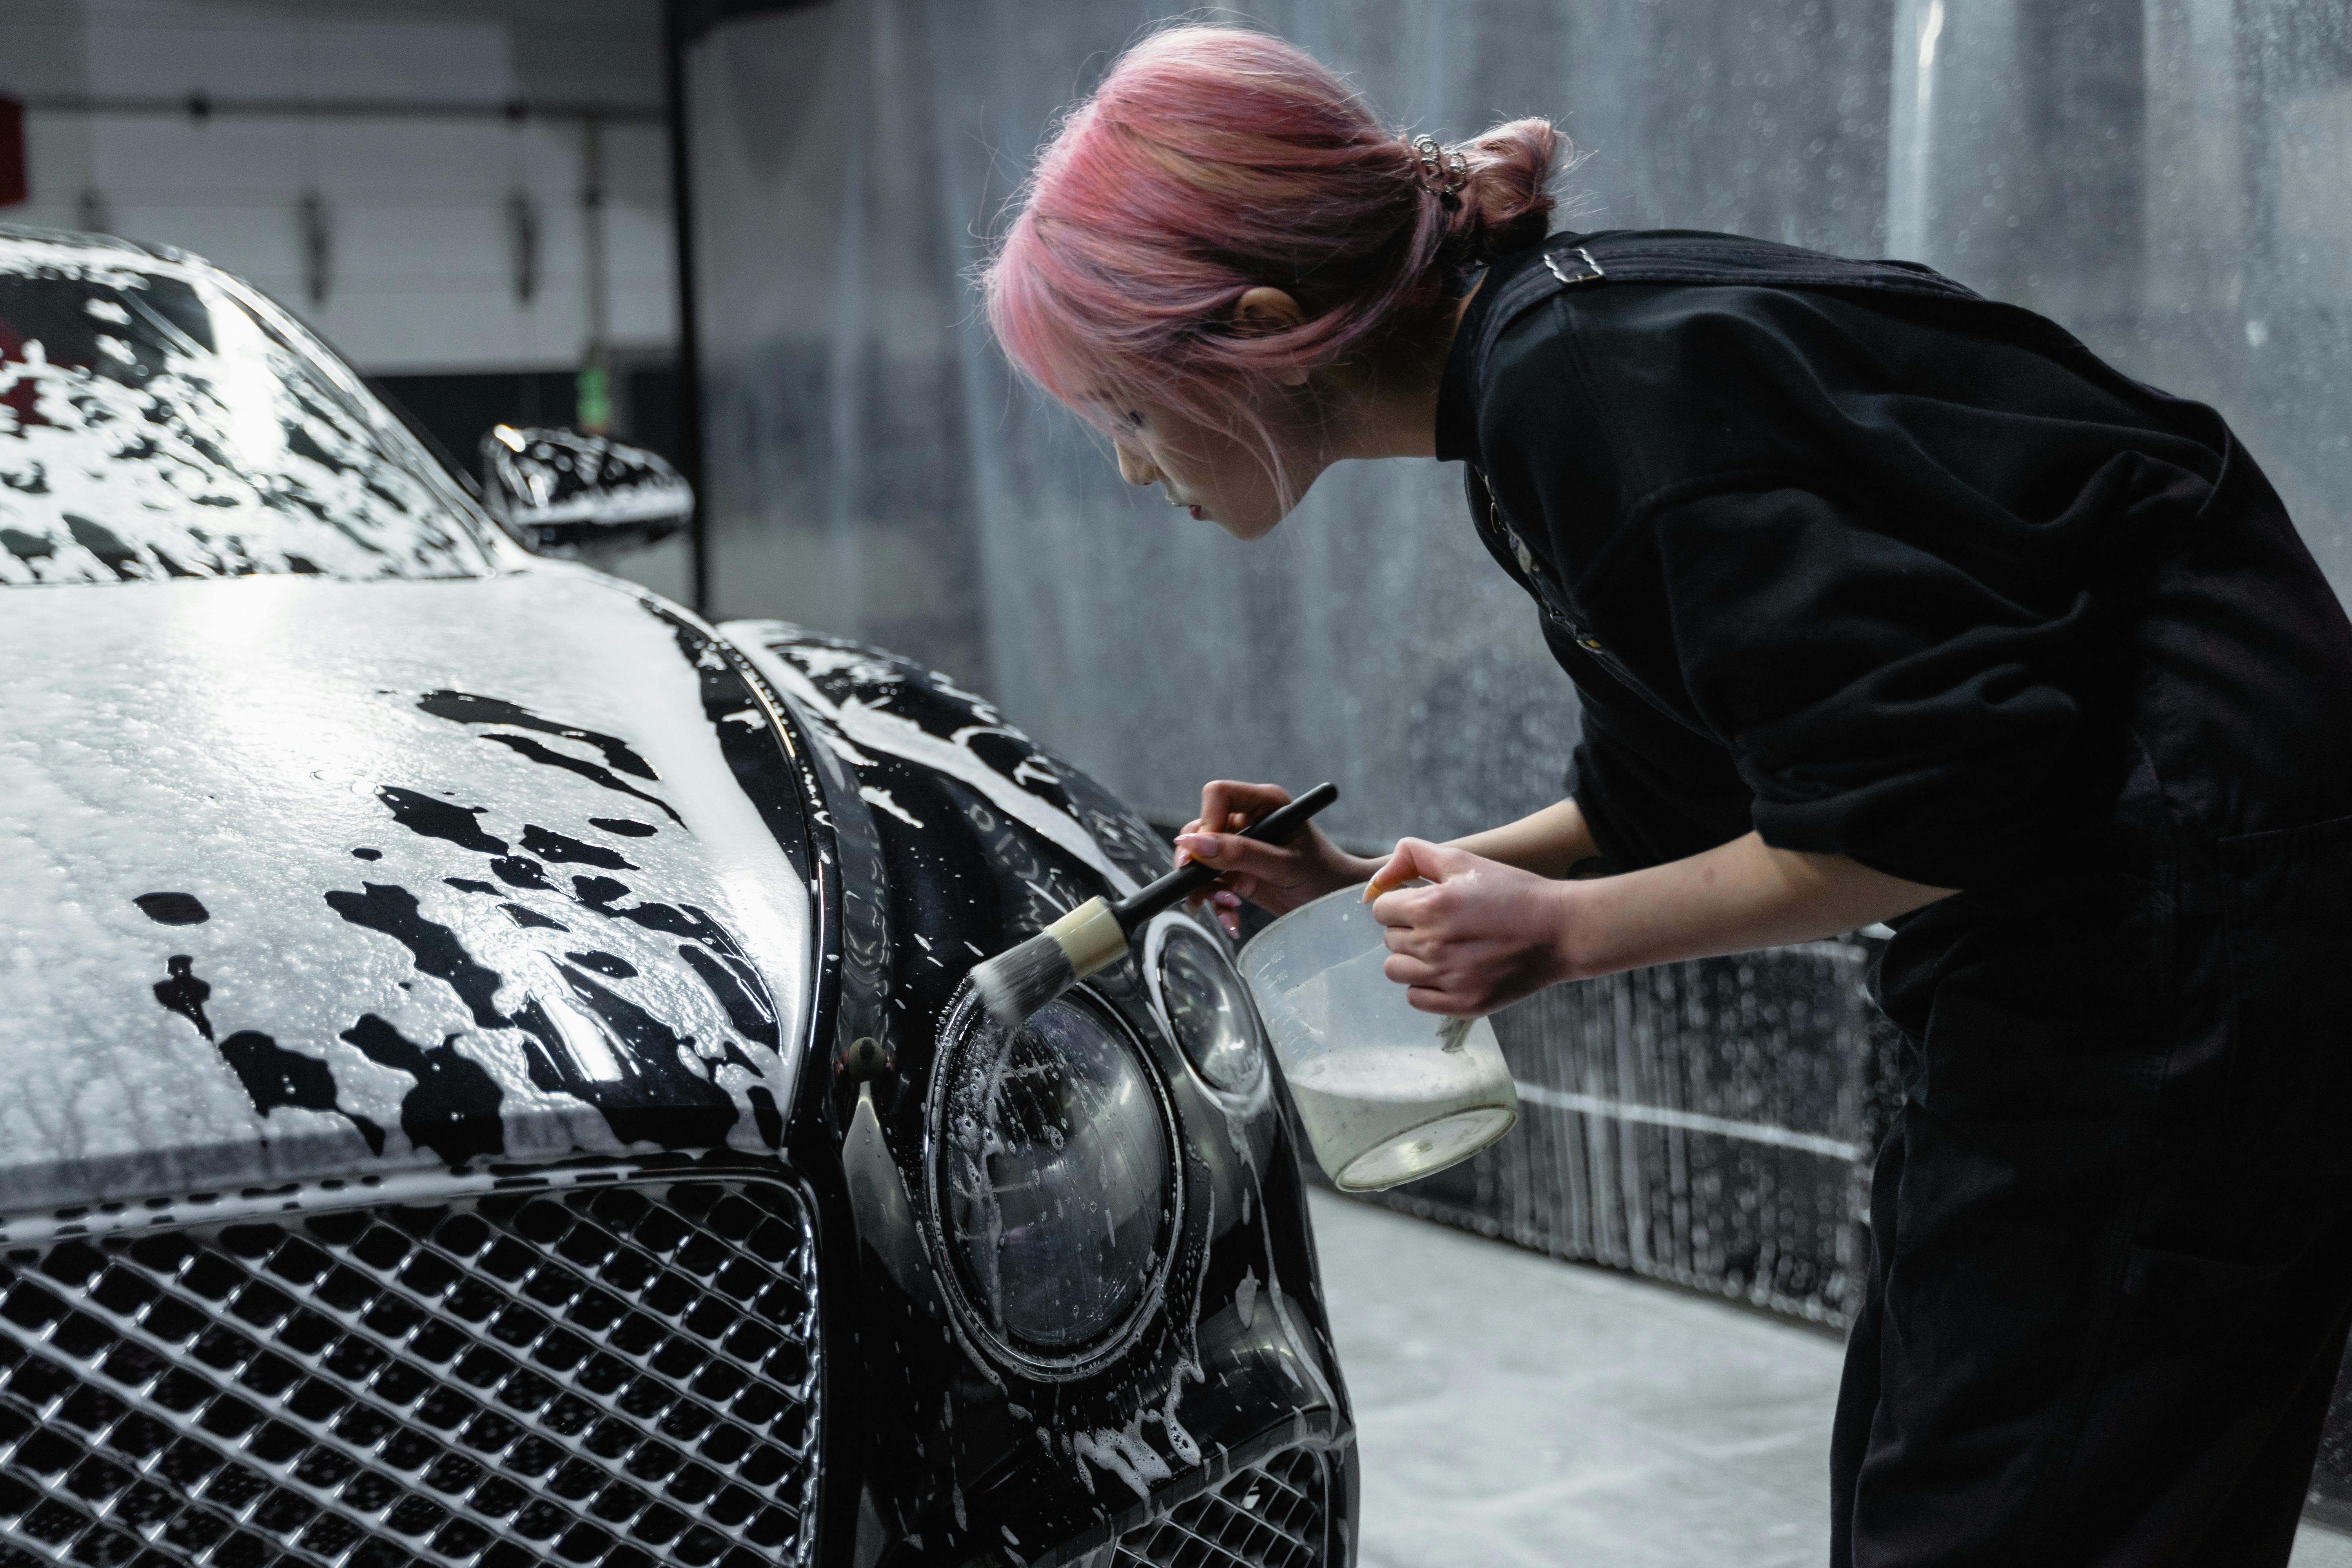
Professional Headlight Restoration: Evaluating the Investment
After exploring DIY methods, let’s shift focus to professional headlight restoration. Is it worth your hard-earned cash? Let’s find out.
Understanding Professional Restoration
- What Experts Do: Professionals use high-grade equipment and products to restore headlights. This often includes sanding, polishing, and sealing techniques.
- The Expertise Edge: Professionals have the experience and skills to tackle severe cases of headlight cloudiness. They can handle complex issues that DIY methods can’t.
Cost Versus Benefit Analysis
- The Price Tag: Professional services can vary in cost, usually depending on the severity of the cloudiness and the quality of materials used.
- Long-Term Benefits: Although more expensive than DIY solutions, professional restoration can offer longer-lasting results. This might save you money in the long run.
When to Consider Professional Help
- Severe Cloudiness: If your headlights are extremely cloudy or yellowed, a professional touch might be necessary to fully restore them.
- Safety Concerns: In cases where visibility is significantly reduced, it’s best to opt for professional restoration to ensure driving safety.
DIY Versus Professional: Making the Choice
- Assessing Headlight Condition: Evaluate the severity of the cloudiness. Light cloudiness can often be managed with DIY methods, while heavier damage might require professional intervention.
- Skill and Time Considerations: Consider your own skills and the time you can invest. If you’re not confident in your DIY abilities or short on time, professional restoration could be more convenient.
Additional Benefits of Professional Restoration
- Warranty and Assurance: Many professional services offer a warranty on their work. This gives you peace of mind and assurance of quality.
- Added Value to Your Car: Professionally restored headlights can improve the overall look and resale value of your vehicle.
In Conclusion
Deciding between DIY and professional headlight restoration boils down to the condition of your headlights, your budget, and personal preferences. Professional restoration, while more costly, brings expertise and lasting results to the table. It can be a worthwhile investment, especially for severely damaged headlights or when safety is a concern. Remember, clear headlights not only enhance your car’s aesthetics but are also crucial for safe driving. If you are leaning toward the professional side, give Boss Auto Detail and Wash a shot and book now!