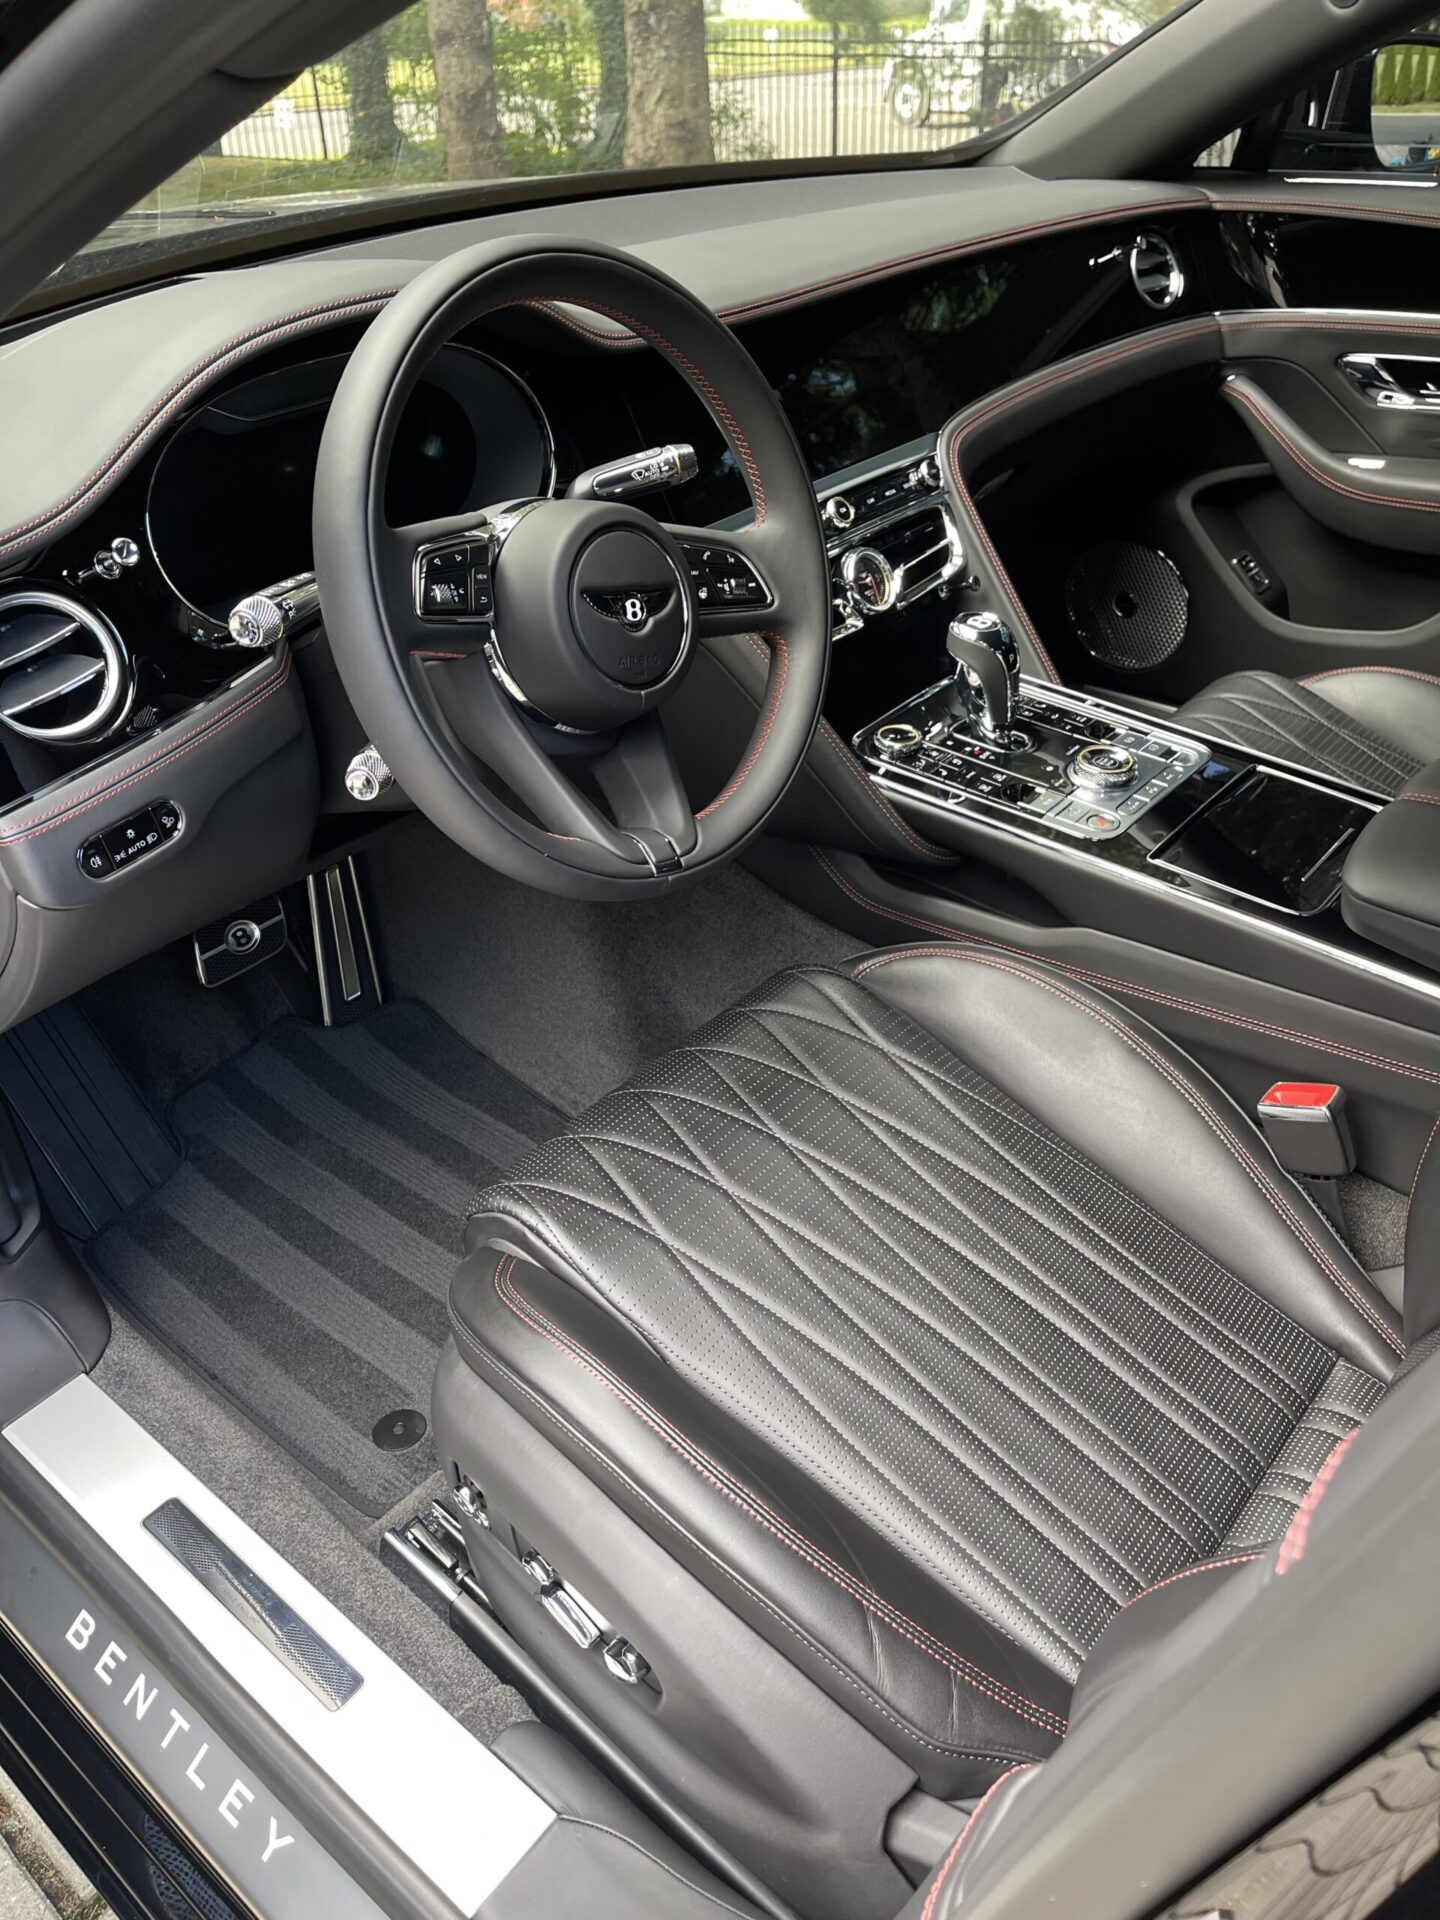
There’s something truly special about the feel and aroma of leather car seats, isn’t there? That sense of luxury, the softness, the sophistication it adds to your drive. But, as with all fine things in life, they require a touch of care. Before we dive into the best way to clean leather car seats, we must begin with the first, and perhaps the most crucial step.
Step 1: Gather Your Tools
You wouldn’t venture into a grooming routine without the proper kit, would you? Similarly, leather seat maintenance needs its toolkit. And trust me, with the right tools, half the battle is already won.
- Vacuum cleaner (with a soft brush attachment): Imagine this as the comb through which you sift out debris and particles.
- Mild leather cleaner: Think of this as the shampoo for your seats. Gentle, yet effective.
- Soft microfiber towels: These are your best friends. Gentle on your seats and ruthless on dirt.
- Leather conditioner: The moisturizer your seats thirst for.
- Soft bristle brush: For those tough spots that need a gentle nudge.
You might have household cleaning products winking at you from the corner. But here’s a gentleman’s advice: resist the temptation. Leather is delicate. It demands specialized care.
Alright, now that you’ve got your toolkit ready, you’re armed for success. In the upcoming sections, we’ll delve deep into how each of these tools plays its part to create the best way to clean leather car seats.
Step 2: Initial Vacuum
Picture this: embarking on a clean shave without trimming down the beard first. Sounds counterproductive, doesn’t it? Similarly, before diving deep into the cleaning process, you want to ensure that all surface debris, the loose dirt, and those pesky crumbs from last week’s drive-thru are dealt with. This is where the initial vacuuming comes into play.
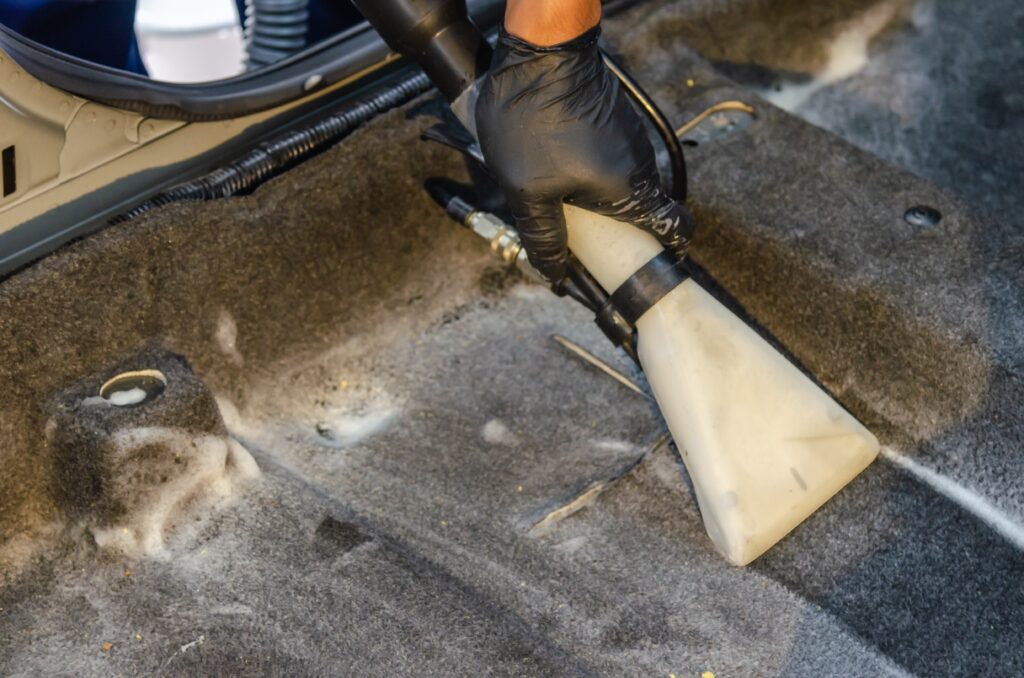
- Why vacuum first? You see, any dirt or grit left on the seats acts like sandpaper. If not removed, while cleaning, you might unintentionally grind it into the leather. That’s not a risk worth taking.
- Soft brush attachment: Ensure it’s attached. Your leather is like your skin; it doesn’t appreciate being scratched.
- Gentle, circular motions: You’re not battling the dirt; you’re gently coaxing it off. Move in smooth, methodical circles, ensuring every inch is covered.
- Attention to detail: Those seams, crevices, and folds are the favorite hiding spots for dirt. Show them some extra love.
Done correctly, after this step, your leather seats will already begin to breathe easier and look refreshed. Think of this initial vacuum as laying down the red carpet, therefore setting the stage for the deeper cleaning.
Step 3: Apply the Leather Cleaner
You wouldn’t use dish soap as shampoo, would you? Just as your hair demands specific care, so does the leather. This phase is akin to giving your seats a luxurious spa treatment.
- Spot Test: Before going all-in, always test your leather cleaner on a discreet spot. Wait a few moments. No discoloration? You’re good to go.
- Using a Microfiber Cloth: Dampen a corner with the leather cleaner. This cloth is the buffer between the cleaner and your seats, therefore ensuring even application without over-soaking.
- Gentle Application: Think of your seats as a canvas, and you’re the artist. Gently paint over the leather, one section at a time, in soft circular motions.
- Avoid Overuse: More isn’t always better. An excessive amount can clog the leather’s pores, leading to a dull appearance.
Now, you might wonder why such emphasis on the cleaner? Here’s the thing: leather, although durable, is skin. It can get dehydrated, stained, or lose its charm if not cleaned correctly. A proper leather cleaner ensures that while the dirt is ousted, the leather’s integrity remains untouched.
Step 4: Scrub (Gently)
The key here is finesse, not force. We want to revive, not ravage.
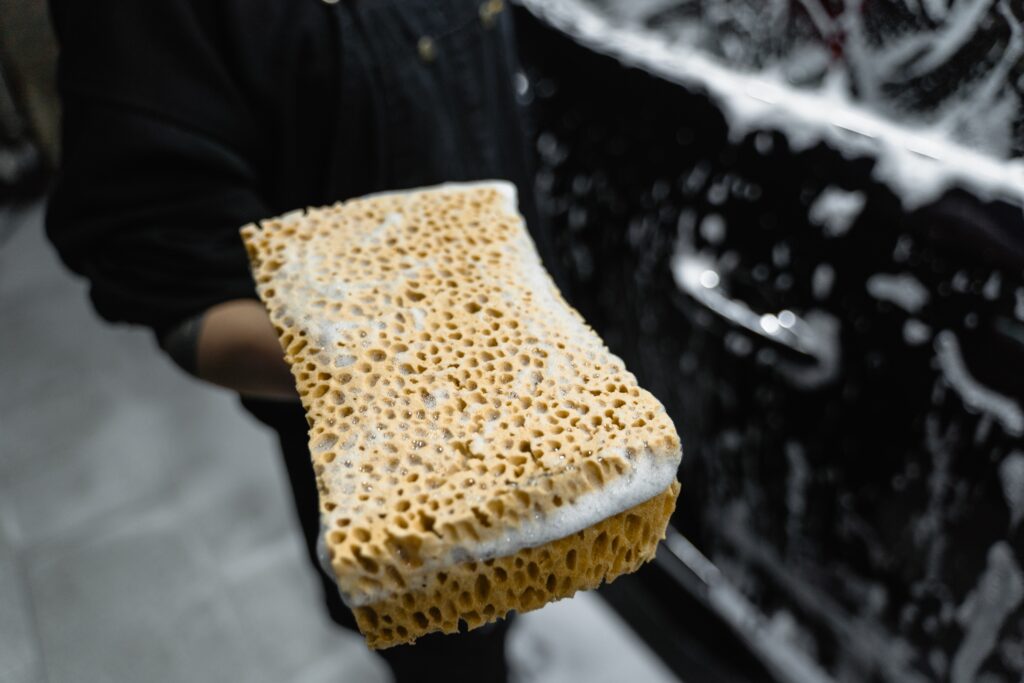
- Soft Bristle Brush: This will be your tool of choice. It’s tough on grime but gentle on leather. Ideal for this mission.
- The Technique: Dip the brush slightly into your cleaner. Now, target those spots. Scrub using tender, circular motions. Think of it as massaging rather than scrubbing.
- Frequency Matters: Avoid the urge to go over and over the same spot. A few thoughtful scrubs usually do the trick. Repeated assault? Not a wise strategy.
- Balance with Moisture: If the brush gets too dry, a light re-dip into the cleaner is all you need. We’re not looking to drench, just maintain a steady rhythm.
Here’s the beauty of this step: By focusing on those pesky stains, you’re not only enhancing the seat’s appearance but also prolonging its life. Every stain or bit of grime acts as an abrasive. By gently removing them, you’re ensuring the leather remains plush for the long haul. Halfway there to understand the best way to clean leather car seats!
Step 5: Wipe and Dry
You wouldn’t exit the shower without drying off, right? Same principle applies here.
- Microfiber Towel in Hand: This trusty tool is back. Its soft texture ensures your leather’s pampering continues.
- The Art of Wiping: Gently glide the towel over the seats, absorbing any residual cleaner or moisture. Think of this as caressing the leather, not rubbing it.
- Air it Out: After wiping, leave your car doors or windows open for a bit. Fresh air works wonders. It helps in the natural drying process, ensuring no moisture lingers.
- Avoid Direct Sunlight: As tempting as it might be to park your car under the sun, refrain. Excessive heat and direct sunlight can dehydrate the leather.
This step is pivotal. It moreover ensures that all your efforts are sealed in. Remember, moisture left on leather is an open invitation to mold and mildew. By ensuring a thorough dry, you’re also ensuring longevity, and that soft, supple touch we all adore.
If taking care if your car is vital for you, also check out our blog on Why Detail Your Car!
Step 6: Condition the Leather
Leather, in its essence, is skin. And much like your own, it craves hydration and nourishment.
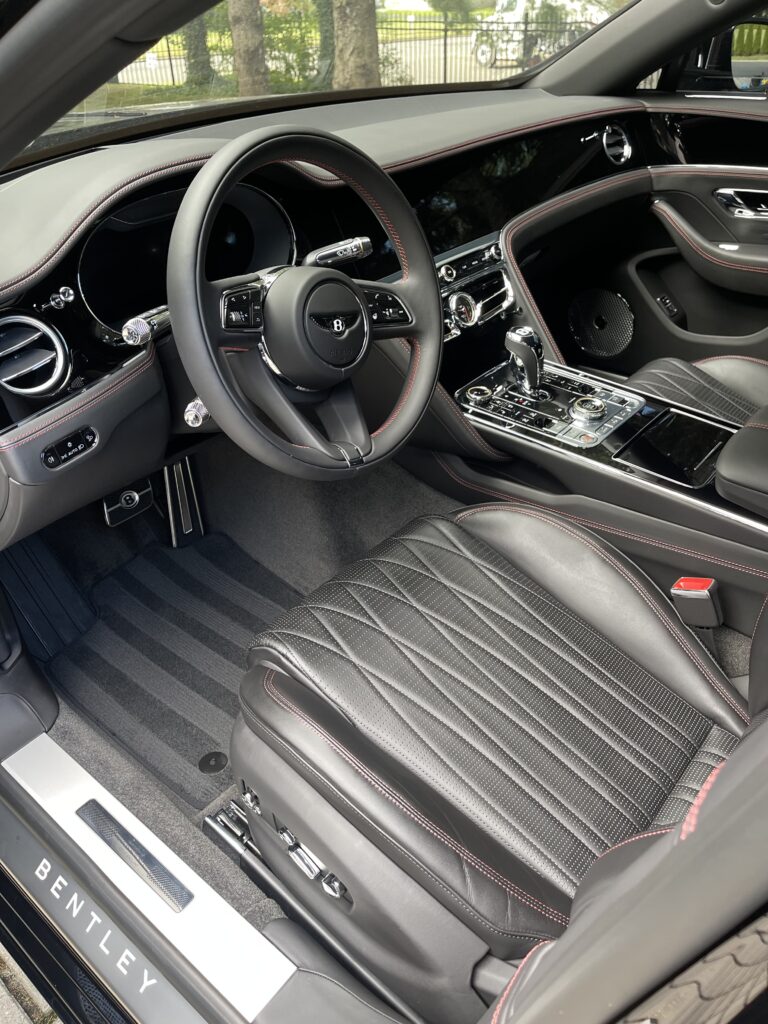
- Choosing the Right Conditioner: Not all leather conditioners are created equal. You’d want a quality product, free from harmful additives.
- Applying with Care: Pour a dab of conditioner onto a clean microfiber cloth. Now, think of your seat as a canvas and you’re the artist. Spread the conditioner evenly, in soft, circular motions.
- Let it Soak: This is the leather’s spa moment. Allow the conditioner to penetrate for a few minutes. It’s absorbing all that goodness.
- Buff to a Shine: Once soaked, take another clean cloth, and gently buff the seats. What you’ll see emerging is a rich, lustrous sheen.
Conditioning isn’t merely about aesthetics, though. It’s the shield against cracking, fading, and aging. It keeps the leather resilient, plush, and oh-so-inviting.
The road to impeccable leather car seats has been a fulfilling one, hasn’t it? As we draw close to its end, let’s ensure we protect our hard work. Stay with me, gents, as we embark on the final touches of the best way to clean leather car seats.
Step 7: Let it Settle
Like a fine wine or a perfectly aged steak, good things demand time. So does your leather, post all its pampering.
- Parking Indoors: If possible, park your car indoors or in a shaded area. The goal? Protect from direct sunlight and environmental factors during this settling phase.
- Avoid Immediate Use: Try to let the seats breathe for a few hours. Hold off that long drive or weekend trip just for a bit.
- Keep the Windows Cracked: A little ventilation goes a long way. It ensures any lingering product fumes dissipate and keeps the air inside fresh.
- No Heavy Objects: For the time being, keep heavy items off the seats. We want no undue pressure on our newly conditioned surfaces.
By letting things settle, you’re not just preserving the work done but enhancing it. The leather absorbs the conditioner more effectively, setting the stage for prolonged beauty and durability.
Step 8: Buff to a Shine
Buffing is not just an action; it’s the final touch of a maestro, the polish that transforms the ordinary into extraordinary.
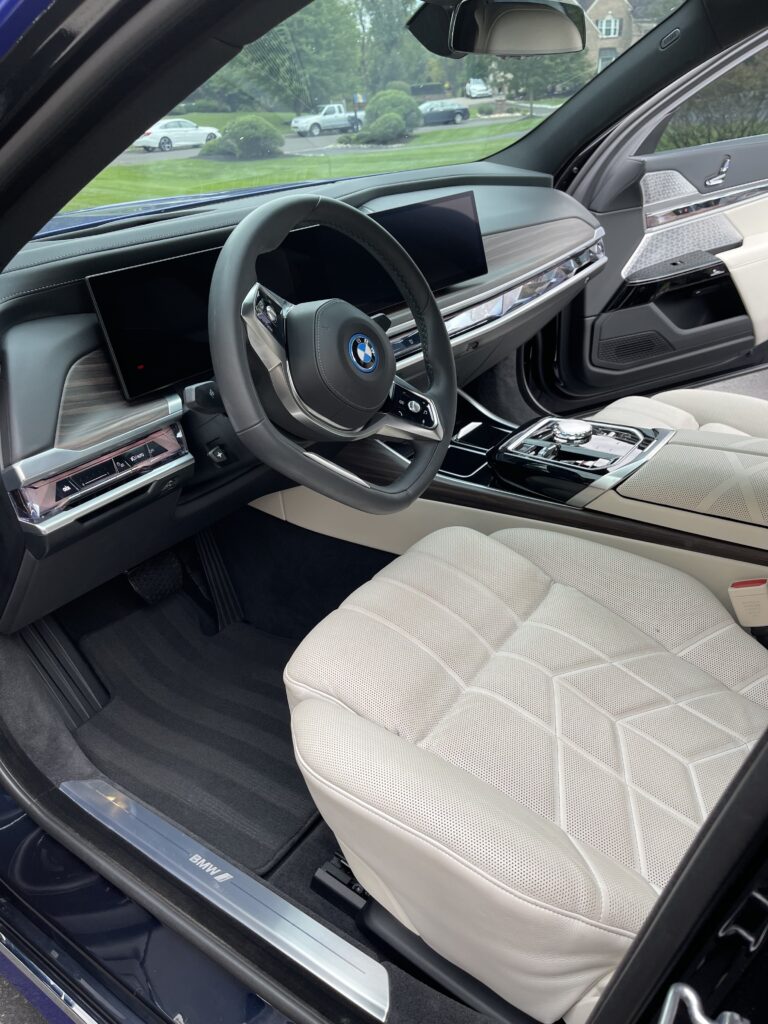
- Grab a Clean Microfiber Cloth: We’ve come to trust this companion through our journey. Its gentle texture is ideal for this final embrace with your seats.
- Gentle, Circular Motions: No rush here, gents. Starting from one end, move in gentle circles, letting the cloth dance over the leather.
- The Right Pressure: You’re not scrubbing, but gently coaxing out the shine. A light touch ensures no streaks or scratches.
- Behold the Transformation: As you progress, you’ll notice the seats springing to life, reflecting light in the most luxurious manner.
This step is like the cherry on top. It encapsulates all your efforts, presenting them in the most radiant manner. It’s the difference between ‘clean’ and ‘luxuriously captivating’.
Quick Tips for Maintaining Clean Leather Seats:
- Clean spills immediately to avoid stains.
- Avoid eating or drinking in the car.
- Keep sharp objects away from seats.
- Use sunshades to protect leather from UV rays.
Incorporate these tips and you’ll be a step ahead in leather care!
In Conclusion
Leather seats are like a fine wine. They can age gracefully and look spectacular with a bit of love and care. With the steps above, you now know the best way to clean leather car seats.
You care about the finer things in life, and your car’s interior is no exception. With a bit of routine upkeep, you can maintain that luxurious look and feel. Go ahead, pamper those seats and drive in style!
Thank you for riding along with us in this guide. Here’s to many happy journeys on your freshly cleaned leather seats! If keeping your car clean matters to you, get a full detail to get the full experience of feeling like a boss when you drive.
BOSS AUTO DETAIL AND WASH
There’s nothing better than driving in a car that looks and smells like it just came straight out of the dealership. At Boss, we take pride in our hard work and meticulous attention to detail and ensure the best quality work you will find anywhere!
Feel like a boss

